By James Carver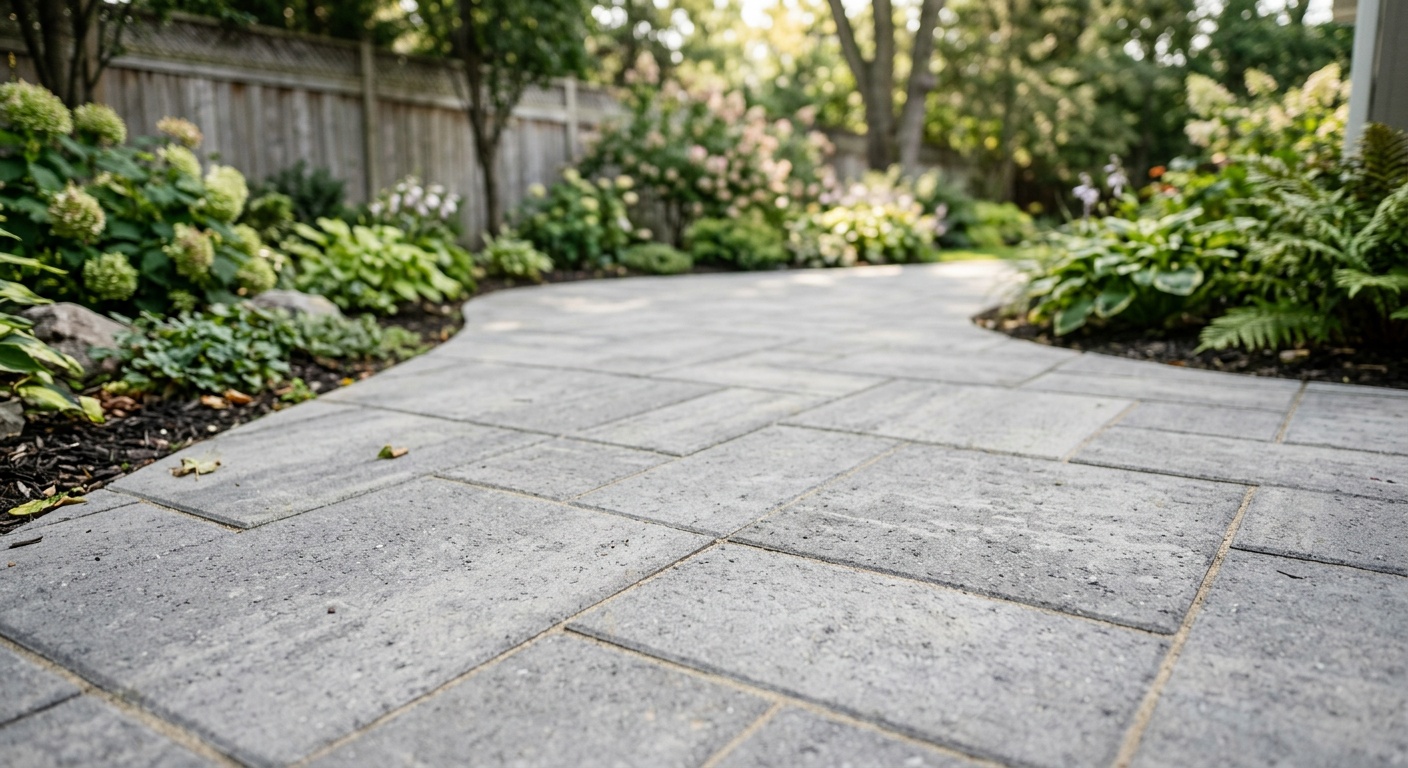
Cheapest Ways to Cover and Refresh an Old Concrete Patio
Reading time: 12 minutes
Your concrete patio has seen better days. Maybe it’s cracked, stained, faded, or just plain dull — a gray slab that drags down the whole look of your backyard. Sound familiar? You’re in good company. According to a 2025 HomeAdvisor survey, over 61% of homeowners reported dissatisfaction with their outdoor concrete surfaces, yet fewer than 20% went ahead with a full replacement due to cost concerns.
Here’s the straight talk: you don’t need to spend thousands tearing out and repaving to get a beautiful, functional patio. With the right budget-friendly strategies — and a little elbow grease — you can dramatically transform your outdoor space for a fraction of the cost. Whether you’re working with a $200 weekend budget or a $1,500 full-refresh plan, there’s a solution that fits.
This guide cuts through the noise and gives you the real options: what works, what doesn’t, how much things actually cost in 2026, and which approach is right for your specific situation.
Table of Contents
- Why Refreshing Beats Replacing
- Assess Your Patio First: Know What You’re Working With
- The Cheapest Cover and Refresh Methods Ranked
- Cost Comparison Table
- Budget Impact Visualization
- Common Challenges and How to Overcome Them
- Real-World Examples
- Frequently Asked Questions
- Your Patio Transformation Roadmap
Why Refreshing Beats Replacing
Let’s run the numbers first. In 2026, a full concrete patio demolition and replacement averages $8 to $18 per square foot depending on your region, labor costs, and material choices. For a standard 300-square-foot patio, that’s anywhere from $2,400 to $5,400 — not including disposal fees, permits, or landscaping repair around the edges.
Compare that to a high-quality resurfacing job at $3–$7 per square foot, or a DIY concrete paint refresh at under $1 per square foot. The savings are staggering. And with today’s improved materials — from micro-topping cements to UV-stable epoxy coatings — the results can look just as polished as new.
Beyond money, there’s also the environmental angle. Concrete production is one of the most carbon-intensive industrial processes on the planet. Choosing to refresh rather than replace aligns with the growing sustainability consciousness that has defined home improvement trends heading into 2026.
“A well-applied overlay or coating can extend the life of a concrete slab by 10 to 20 years. Homeowners are often shocked to discover that replacing isn’t just unnecessary — it’s wasteful.” — Mark Delgado, Certified Concrete Craftsman, National Concrete Masonry Association, 2025
Assess Your Patio First: Know What You’re Working With
Before you commit to any method, you need an honest assessment of your concrete’s condition. Not all slabs are candidates for every solution, and skipping this step is the #1 mistake DIYers make — leading to wasted money and peeling results.
The Four-Point Patio Diagnostic
Walk your patio and evaluate these four critical factors:
- Structural integrity: Are there deep cracks wider than ¼ inch, or sections that shift when you step on them? Heaving or settling indicates a sub-base problem that surface treatments won’t fix.
- Surface porosity: Sprinkle water on the slab. Does it absorb quickly (good for coatings) or bead up (suggests previous sealer that needs stripping)?
- Staining and contamination: Oil, rust, and organic stains can bleed through paint and coatings if not treated first. Identify them early.
- Overall levelness: Minor variations are fine for overlays and pavers. But if one section is dramatically sunken, you may need professional slab-lifting (mudjacking) before covering.
When to Call a Professional vs. DIY
If your slab has hairline cracks or minor surface spalling, all the methods in this guide are fair game for a confident DIYer. If you’re dealing with cracks that run through the full depth of the slab, active water intrusion from below, or multiple large settled sections — get a professional assessment first. A $150 consultation could save you from wasting $500 on a coating that fails in six months.
Quick tip: Most concrete contractors offer free or low-cost assessments in 2026, especially during their slower winter and early spring months. Use this to your advantage.
The Cheapest Cover and Refresh Methods Ranked
Here are the most proven, budget-conscious approaches — ordered roughly from lowest to highest cost — with honest pros and cons for each.
1. Concrete Paint and Stain (Most Affordable Entry Point)
Estimated cost: $0.50–$1.50 per square foot (DIY)
Concrete paint and acid staining are the most accessible entry-level solutions. They don’t change the texture of your patio, but they can dramatically alter its appearance with color and a refreshed surface seal.
Concrete paint (specifically masonry or porch-and-floor paint) is your cheapest option. A gallon covers roughly 200–400 square feet and costs $25–$45 in 2026. Two coats are typical. Products like Rust-Oleum RockSolid and BEHR Premium have improved significantly in durability, offering 5–7 year lifespans in mild climates with proper prep.
Acid staining is more artistic and permanent. It reacts chemically with the concrete’s minerals to create rich, variegated, stone-like tones. It doesn’t peel or chip because it becomes part of the slab. However, results are less predictable — the final color depends on your concrete’s mineral content — and you’ll need a neutralizing step plus a sealer afterward.
Best for: Homeowners wanting a quick cosmetic refresh on a structurally sound slab with minimal texture issues.
Limitations: Paint can peel in freeze-thaw climates. Stain won’t hide cracks or rough texture.
2. Concrete Resurfacing / Overlay (Best Overall Value)
Estimated cost: $1.50–$4.00 per square foot (DIY) | $3–$7 professional
Concrete resurfacers are polymer-modified cement-based products that bond to your existing slab and create a fresh 1/8 to ¼ inch surface layer. Brands like Quikrete Concrete Resurfacer and DAP Concrete Waterproof Filler + Sealer have become widely available at big-box retailers like Home Depot and Lowe’s.
This is arguably the best bang for your buck on the market in 2026. Resurfacers hide minor cracks, smooth out surface spalling, and can be textured before they cure (using a broom, stamp, or trowel) to mimic stone, slate, or wood planks. After curing, apply a sealer for protection.
One 50-pound bag covers approximately 45 square feet at 1/8 inch thickness. At around $25–$30 per bag in 2026, the math is very favorable compared to replacement.
Best for: Moderately worn patios with surface cracks, spalling, or discoloration. Great for DIYers with basic tool skills.
Limitations: Requires thorough cleaning and any cracks wider than ¼ inch must be filled and allowed to cure first. Not suitable for severely damaged slabs.
3. Outdoor Rugs and Modular Deck Tiles (Zero-Commitment Option)
Estimated cost: $1–$5 per square foot
Sometimes the smartest solution is also the simplest. Outdoor rugs and snap-together deck tiles (available in wood composite, stone-look porcelain, and recycled rubber) let you cover your old concrete entirely without any surface preparation or drying time.
In 2026, the market for modular patio tiles has exploded. Brands like Envirotile, Pergo Truecore, and IKEA’s RUNNEN decking tiles offer realistic wood and stone looks at $2–$5 per square foot. A 300-square-foot patio could be covered for $600–$1,500 — often cheaper than professional resurfacing, and fully reversible.
The major advantage: no skill, no prep, no curing time. Tiles simply snap together over any flat surface. They also allow water drainage underneath, preventing moisture buildup issues.
Best for: Renters, homeowners who want a reversible solution, or anyone with heavily cracked concrete that’s unsuitable for coatings.
Limitations: Tiles can shift over time in high-traffic areas. They add height to the surface, which may affect door thresholds. Quality varies enormously — invest in UV-resistant options.
4. Paver or Flagstone Overlay (Premium Budget Option)
Estimated cost: $3–$8 per square foot (DIY materials only)
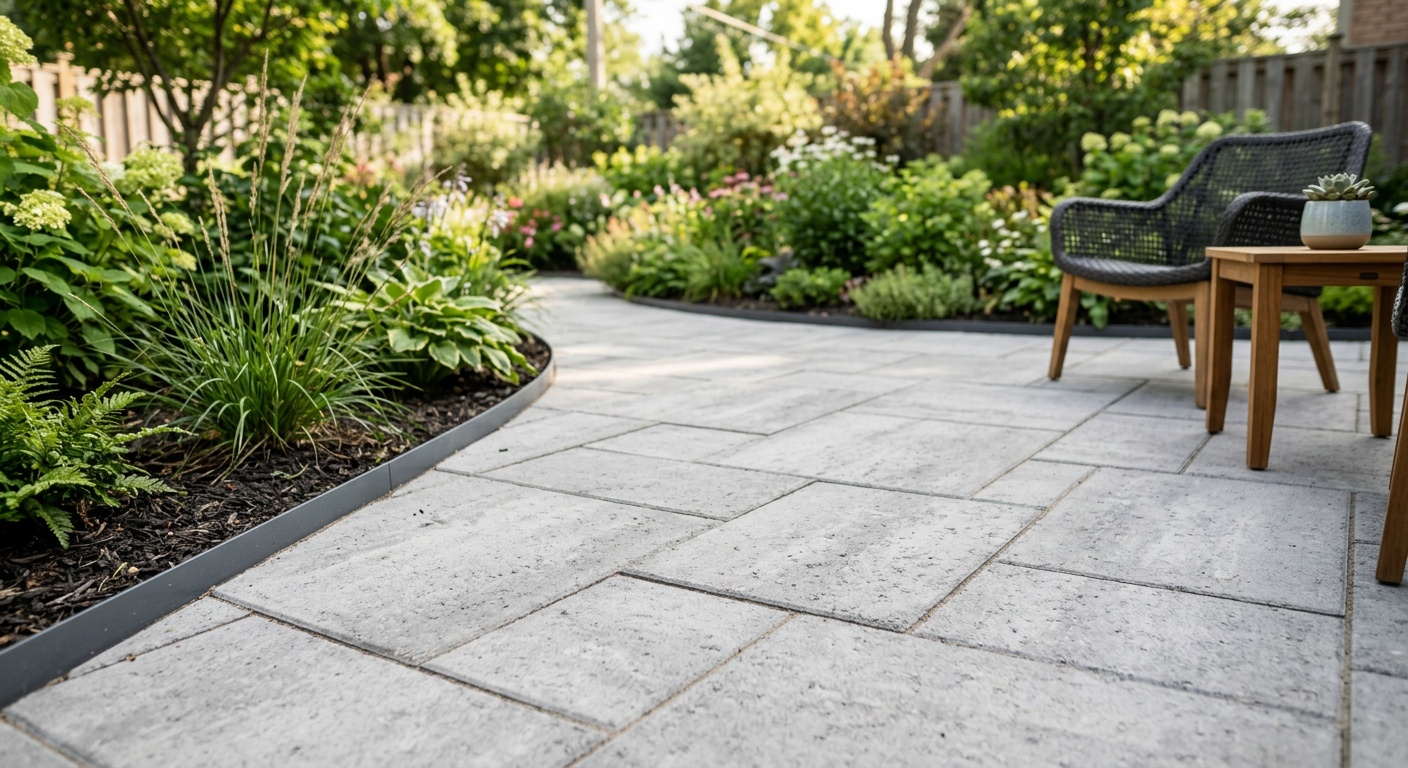
Laying thin-cut pavers, flagstone, or porcelain tiles directly over existing concrete is a more labor-intensive but beautiful solution. You’re essentially using your old slab as a ready-made sub-base — a huge cost advantage over traditional paver installation which requires extensive excavation and base preparation.
The key is using thin-set mortar and choosing materials rated for outdoor freeze-thaw conditions. Porcelain pavers have become the favored choice in 2026 because of their low maintenance, frost resistance, and realistic stone aesthetics. You can find 24×24 inch outdoor porcelain tiles for $1.50–$4.00 per square foot at tile distributors and online retailers like BuildDirect.
This approach adds significant visual and resale value. A well-done flagstone or porcelain paver overlay can look indistinguishable from a custom-built patio at a fraction of the cost.
Best for: Homeowners with a moderate budget and some DIY comfort, looking for a long-lasting, high-impact transformation.
Limitations: More complex installation requiring proper planning, cuts, and time. Weight of materials must be considered (porcelain pavers are heavy). Not suitable for slabs with active settlement.
5. Epoxy Coating (Garage-to-Patio Crossover)
Estimated cost: $2–$5 per square foot (DIY kit)
Originally a garage floor staple, exterior-grade epoxy coatings have made significant strides in UV stability, making them a viable patio option in 2026. Two-part epoxy kits create a high-gloss, extremely durable surface that resists staining, chemicals, and abrasion better than concrete paint.
Popular DIY epoxy kits from companies like ArmorPoxy and Rust-Oleum EpoxyShield cost $150–$300 for a 250-square-foot kit. They include anti-slip additives (essential for outdoor use) and decorative color flakes for a speckled, modern look.
Best for: Covered patios or warmer climates with minimal freeze-thaw cycling. Excellent for entertaining spaces where durability and aesthetics both matter.
Limitations: UV-grade epoxy performs better, but even the best products can yellow over time in direct sunlight. Application requires meticulous surface prep — acid etching or diamond grinding — to ensure adhesion.
Cost Comparison Table
| Method | DIY Cost/sq ft | Lifespan | Skill Level | Visual Impact |
|---|---|---|---|---|
| Concrete Paint/Stain | $0.50–$1.50 | 3–7 years | Beginner | Moderate |
| Concrete Resurfacer | $1.50–$4.00 | 8–15 years | Intermediate | High |
| Modular Deck Tiles | $1.00–$5.00 | 5–12 years | Beginner | High |
| Paver/Flagstone Overlay | $3.00–$8.00 | 20–30 years | Intermediate+ | Very High |
| Epoxy Coating | $2.00–$5.00 | 5–10 years | Intermediate | High |
Budget Impact Visualization: Cost per 300 sq ft Patio
Here’s how the total estimated DIY material costs compare for a standard 300-square-foot patio using each method (mid-range estimates):
Note: Bars scaled relative to $1,800 benchmark. Costs vary by region and product selection.
Common Challenges and How to Overcome Them
Challenge 1: Cracks Keep Reappearing Through the Coating
This is the single most common frustration among DIYers who try to paint or resurface without proper prep. Concrete moves — it expands in heat, contracts in cold, and shifts with moisture changes. If you simply paint over a crack, that crack will telegraph straight through your fresh coating within one to two seasons.
The fix: Use a polyurethane or polyurea-based crack filler (not standard concrete caulk) before any surface treatment. These flexible-when-cured fillers accommodate movement rather than cracking again. Products like Sikaflex Self-Leveling Sealant or Quikrete Self-Leveling Polyurethane Sealant cost $10–$20 per tube and are specifically designed for this purpose. Fill cracks, allow full cure time (24–48 hours), then feather the edges with a grinder before proceeding.
Challenge 2: Peeling Paint After One Winter
You invest a weekend and $150 in paint, only to watch it peel up in sheets come spring. The culprit is almost always moisture — either from below (hydrostatic pressure pushing up through the slab) or inadequate surface preparation.
The fix: First, perform the plastic sheet test. Tape a 12×12 inch piece of plastic sheeting to your concrete and leave it for 24 hours. If moisture condenses underneath, you have a moisture problem that needs addressing before any coating is applied. Apply a concrete moisture barrier primer (DryLok Extreme or RadonSeal are popular 2026 options) before your topcoat. Also ensure you’re using a masonry-specific primer and paint — not interior or general-purpose products.
Challenge 3: Modular Tiles Shifting and Becoming Uneven
Snap-together tiles are convenient but can creep and shift over time, especially around high-traffic areas or under furniture legs. This creates tripping hazards and an untidy appearance.
The fix: Use border tiles along all outer edges to create a contained perimeter. For extra stability, apply double-sided outdoor carpet tape at the corners of the outermost tiles anchoring them to the concrete. Furniture should always sit on rubber-tipped legs or furniture pads to prevent leverage on individual tiles. Periodically re-snap any tiles that have shifted — this takes five minutes and prevents cascading movement across the deck.
Real-World Examples
Case Study 1: The Weekend Resurfacing Win
In spring 2025, a homeowner in Charlotte, North Carolina tackled a 250-square-foot patio that had accumulated 15 years of staining, surface cracks, and general ugliness. She chose a concrete resurfacer approach on a budget of $400 total.
Her process: pressure wash and degrease ($0, borrowed equipment), fill larger cracks with polyurethane sealant ($18), apply two bags of Quikrete Concrete Resurfacer using a squeegee ($52), drag a soft broom across the surface before cure for a subtle texture ($0), and finish with a penetrating concrete sealer ($35). Total materials: $105. The remaining budget went toward new outdoor furniture to complement the transformed space.
The result was a smooth, light-gray surface that looked virtually new. Eighteen months later in early 2026, the surface remains in excellent condition with no peeling or cracking — a testament to proper prep and the right product choice.
Case Study 2: The Tile Overlay Transformation
A couple in Phoenix, Arizona had a 400-square-foot covered patio with badly stained and pitted concrete — far too rough for paint or resurfacer alone. Rather than demolish, they opted for a 20×20 inch porcelain paver overlay in a travertine-look finish sourced from a local tile liquidator at $1.80 per square foot.
With $720 in tile, $80 in thin-set mortar, and $60 in tile spacers and grout, their $860 total investment yielded a high-end result. Because it was a covered patio, they didn’t need to factor in freeze-thaw resistance. Professional tile setters in their area quoted $4,800 for the same job — the DIY approach saved them nearly $4,000. As of 2026, the patio has become the centerpiece of their outdoor entertaining space.
Frequently Asked Questions
Can I resurface a concrete patio with large, deep cracks?
Concrete resurfacer works well on surface cracks (1/8 inch or less in width) and minor spalling. For cracks wider than ¼ inch or that extend through the full depth of the slab, you’ll need to fill them with a flexible polyurethane sealant first and allow full cure before resurfacing. Cracks caused by active slab movement (shifting, settling) may continue to telegraph through any overlay, so address the underlying cause — such as poor drainage or tree root pressure — before resurfacing if possible. In severe cases, consult a structural concrete contractor.
How long do I need to wait before using the patio after painting or resurfacing?
Light foot traffic is typically safe after 24 hours for most concrete paints and resurfacers, but full cure time — when the surface reaches its maximum hardness and durability — takes 7 to 28 days depending on the product and ambient conditions. Avoid dragging heavy furniture across the surface for at least 72 hours. Epoxy coatings generally require 24–48 hours before foot traffic and 72 hours for vehicles or heavy loads. Always follow the specific manufacturer’s curing guidelines printed on the product packaging, as these can vary significantly between brands.
What’s the best budget-friendly option for a patio in a cold, snowy climate?
In freeze-thaw climates — common throughout the Midwest, Northeast, and Upper Plains — your best options are concrete resurfacing with a penetrating sealer, or modular snap-together tiles. Concrete paint and most epoxy coatings struggle with the repeated freeze-thaw cycling that causes subsurface moisture to expand and contract, eventually delaminating surface coatings. If you go the paver overlay route, choose porcelain pavers specifically rated for freeze-thaw resistance (look for a PEI rating of 4 or 5 and confirm frost resistance in product specifications). Avoid glazed ceramic tiles, which can become dangerously slippery when icy and may crack in extreme temperature swings.
Your Patio Transformation Roadmap: From Drab Slab to Backyard Gem
You now have everything you need to make a confident, cost-effective decision about your concrete patio. The outdoor living trend continues to accelerate in 2026 — according to the American Institute of Architects’ most recent Home Design Trends Survey, outdoor living space improvements rank as the #2 renovation priority for homeowners this year, just behind kitchen updates. Your patio isn’t just a slab of concrete — it’s valuable, livable square footage waiting to be unlocked.
Here’s your practical action plan for the next 30 days:
- This weekend: Conduct your four-point patio diagnostic. Know exactly what condition you’re working with before spending a single dollar.
- Week 2: Set your budget range and select your method. Use the comparison table in this article to match your patio’s condition to the right solution.
- Week 3: Gather materials and complete all necessary crack repairs and surface prep. This step determines 80% of your final result — don’t rush it.
- Week 4: Apply your chosen cover or coating on a dry day with temperatures between 50°F and 85°F for optimal results. Follow curing guidelines precisely.
- After curing: Add furniture, lighting, and plants to complete the transformation. A newly refreshed patio deserves to be staged and enjoyed.
Key takeaways to carry with you:
- Concrete replacement is rarely necessary — the right refresh method almost always delivers comparable results for 70–85% less cost.
- Surface preparation is non-negotiable. Every hour spent cleaning, degreasing, and filling cracks pays dividends in longevity.
- Your climate matters enormously. Match your product choice to your weather conditions, not just your aesthetic preferences.
- For the absolute lowest budget, concrete paint or stain gets the job done. For the best long-term value, a resurfacer or paver overlay wins.
As sustainable home improvement continues to shape 2026’s renovation landscape, choosing to refresh over replace puts you at the leading edge of both smart spending and environmental responsibility.
So here’s the question only you can answer: What’s your concrete patio costing you right now in lost outdoor living potential — and what’s one weekend of focused effort actually worth to your home and quality of life?