By James Carver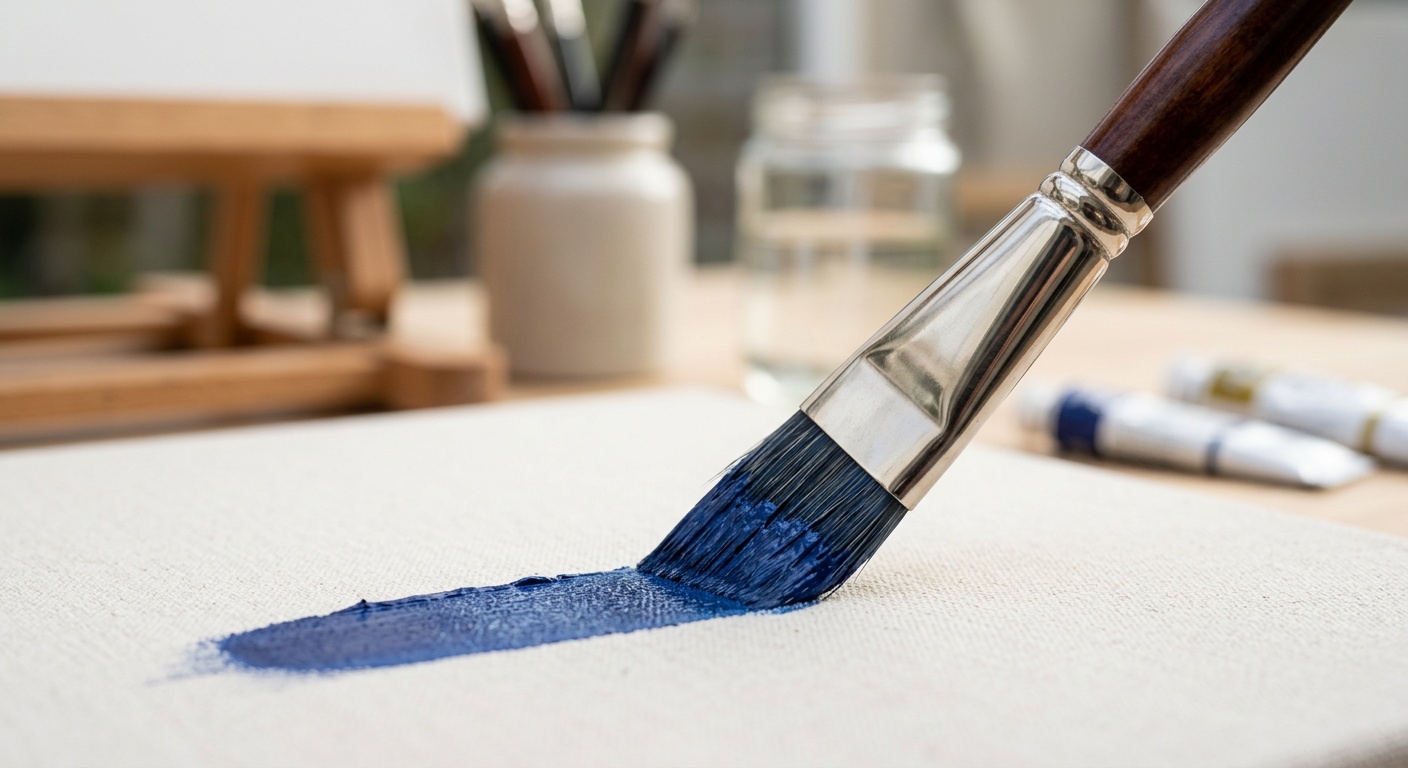
How to Cut In Paint Along Walls and Ceilings Perfectly
Reading time: 12 minutes
Ever stared at a freshly painted room only to notice those jagged, wobbly lines where your wall meets the ceiling? You’re not alone. Cutting in paint — that precise brushwork technique used along edges, corners, and trim — is the make-or-break skill that separates a professional-looking paint job from one that screams “DIY disaster.” The good news? It’s entirely learnable, even if your first attempt looked like a toddler wielded the brush.
In 2026, with interior design trends leaning heavily into bold accent walls, two-tone room schemes, and high-contrast ceiling colors, the ability to cut in cleanly has never been more valuable. A 2025 survey by the Paint Quality Institute found that 68% of homeowners who attempted DIY painting reported their biggest frustration was achieving clean edges — not color selection, not prep work, but that one critical technique of cutting in.
This guide will take you from shaky beginner to confident painter, walking you through every tool, technique, and trick the pros use to get those razor-sharp lines every single time.
Table of Contents
- What Is Cutting In Paint (And Why It Matters)
- The Right Tools for Perfect Cutting In
- Preparation: The Foundation of a Clean Edge
- The Step-by-Step Cutting In Technique
- Common Challenges and How to Overcome Them
- Cutting In Methods Compared
- Success Rate by Technique
- Frequently Asked Questions
- Your Perfect Edge: Next Steps
What Is Cutting In Paint — And Why It Matters So Much
Cutting in is the technique of painting a precise band of color along edges, corners, ceiling lines, and trim before you roll the main wall surface. Think of it as painting’s version of sketching an outline before filling in a coloring book — except the stakes are significantly higher when you’re dealing with a $400 can of designer paint and freshly installed crown molding.
Professionals refer to cutting in as the “frame” of the room. When done correctly, it creates a clean, seamless transition between surfaces. When done poorly, it creates what painters call “holidays” (missed spots) or, worse, bleed-through onto ceilings and trim that requires hours of correction work.
Here’s a quick scenario: Imagine you’re refreshing your living room with a deep navy accent wall — one of the hottest trends in 2026 home interiors. Your ceiling is bright white. Without a clean cut-in line, that navy paint bleeds onto the ceiling, and no amount of touch-up white paint will make it look truly professional. The contrast between the two colors actually makes any imperfection more visible, not less.
The stakes are real. According to HomeAdvisor’s 2025 Cost Report, hiring a professional painter costs between $2.50 and $4.00 per square foot, with cutting in representing nearly 40% of the skilled labor time on any interior job. Mastering this skill yourself isn’t just satisfying — it can save you hundreds of dollars per room.
The Right Tools for Perfect Cutting In
Here’s the straight talk: even the most skilled technique falls apart with the wrong brush. Tool selection is the step most DIYers rush past, and it’s often why their results disappoint them.
Choosing the Perfect Angled Brush
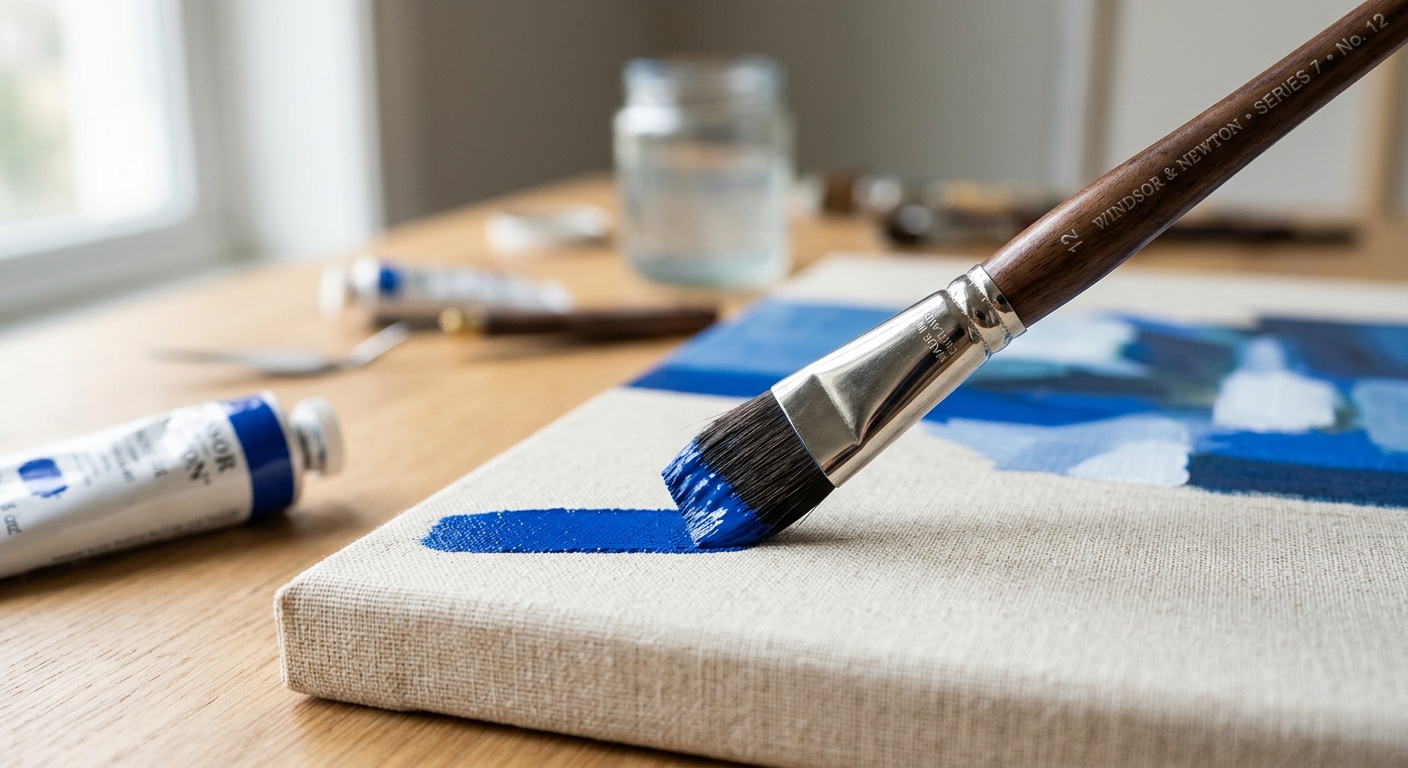
The cornerstone of cutting in is an angled sash brush, sometimes called a cutting-in brush. Unlike flat brushes, the angled bristle edge lets you maintain precise control while keeping the brush body away from adjacent surfaces.
- 2-inch angled brush: The gold standard for most cutting-in tasks along ceilings and trim. Offers the best balance of precision and speed.
- 1.5-inch angled brush: Ideal for narrow trim, window frames, and intricate molding detail.
- 2.5-inch angled brush: Better for experienced painters who want to cover more ground along longer wall-to-ceiling runs.
When selecting bristle type, match it to your paint. For latex (water-based) paints — which dominate the 2026 market at over 85% of interior paint sales — choose synthetic nylon or polyester bristles. For oil-based paints, natural bristles perform better and hold more paint per load.
Pro Tip: Spend at least $15–$25 on your cutting-in brush. Cheap brushes leave bristle marks and drag unevenly. Purdy, Wooster, and Shur-Line remain the top professional-grade brands as of 2026.
Supporting Tools You Shouldn’t Skip
Beyond the brush itself, a well-equipped cutting-in toolkit includes:
- Painter’s tape (optional but strategic): High-quality tape like FrogTape or 3M ScotchBlue provides a mechanical edge guide, especially valuable for beginners or when working with very high-contrast colors. In 2026, FrogTape’s PaintBlock Technology remains the industry benchmark for preventing bleeding.
- Paint shield or trim guard: A plastic or metal guide held against trim while you brush — no tape required when used correctly.
- Small paint pail or cup: Decant paint from the can into a handheld container. This gives you mobility and prevents contaminating your main supply.
- Damp rag or paper towels: Kept nearby for immediate cleanup of drips or smears before they dry.
- Good lighting: A portable LED work light directed at your cutting-in zone reveals subtle irregularities that room lighting misses entirely.
Preparation: The Foundation of a Clean Edge
Professional painters have a saying: “Prep is 70% of the job.” Nowhere is this truer than when cutting in. Rushing past preparation is the single biggest reason DIY paint jobs fail to look professional.
Surface Preparation Steps
Before you load a single brush, work through this preparation sequence:
- Clean the surface: Dust, grease, and grime prevent paint adhesion and cause uneven edges. Wipe down walls near ceilings and along trim with a slightly damp microfiber cloth. For kitchens, use a TSP (trisodium phosphate) substitute cleaner to cut through grease residue.
- Sand rough spots: Any texture irregularities along your cut-in zone will be amplified once paint is applied. Lightly sand with 120-grit sandpaper and wipe away dust.
- Fill gaps and cracks: Use paintable caulk along the joint where walls meet crown molding or baseboards. A clean, filled joint creates a physical edge that guides your brush naturally. Allow 24 hours to cure before painting.
- Apply primer if needed: Unprimed drywall, fresh patches, or dark-to-light color changes all benefit from a cut-in primer pass first. Skipping primer on these surfaces often results in “flashing” — dull spots where the topcoat absorbed unevenly.
- Protect what you’re not painting: Move furniture, lay drop cloths, and cover light fixtures. Painting freely without fear of accidental drips paradoxically leads to more controlled, confident brushwork.
Tape application (if using): Press painter’s tape firmly along the edge of the ceiling or trim — the surface you want to protect, not the surface you’re painting. Run a putty knife or credit card along the tape edge to seal it completely. Even “no-bleed” tapes can leak if there’s an air gap underneath. Remove tape while paint is still slightly wet (not fully cured) to avoid peeling the dried paint film.
The Step-by-Step Cutting In Technique
Now we get to the heart of it. The following technique is what professional painters refine over years — but you can learn the fundamentals in your first session if you understand the underlying logic of each step.
Loading the Brush Correctly
How you load paint onto your brush determines everything about how it handles during the cut. Most beginners either underload (causing dry, dragging strokes) or overload (causing drips and blobs).
The correct method:
- Dip the brush into your paint cup approximately one-third of the bristle length. Never dip past the ferrule (the metal band).
- Tap — don’t wipe — both sides of the brush gently against the inside of the cup. Tapping removes excess without stripping the bristles like wiping does.
- The brush should hold enough paint to cover roughly 10–12 inches of cutting-in stroke without reloading.
The Three-Step Stroke Method
Professional painters use a consistent three-part stroke when cutting in. This is the technique that creates those clean, envy-worthy edges:
- Start away from the edge: Begin your brushstroke approximately half an inch away from your target edge (ceiling line, trim, etc.). This deposits a controlled bead of paint that you’ll guide toward the edge in the next step.
- Guide toward the edge: With a smooth, continuous motion, angle the brush so the bristle tips touch the edge or tape line. The natural flex of the bristles does the work — you’re not forcing the brush into the corner but allowing the paint to flow to it. Maintain light, consistent pressure.
- Feather away: As you finish each stroke section (8–12 inches), lift the brush in a feathering motion away from the wall. This prevents paint buildup at stroke endpoints that creates visible lap marks.
Work in sections of 2–3 feet at a time. Complete the cut-in section and then roll the adjacent wall surface while both are still wet — this “wet edge” technique ensures the cut-in band and rolled section blend invisibly rather than showing a distinct brushed border.
Maintaining a Wet Edge
This is perhaps the most critical and overlooked principle of cutting in. A wet edge means you always work into fresh, wet paint — never back into dried paint. Painting over dried paint creates visible ridges called “lap marks” that catch light and stand out dramatically once dry.
Practical approach: Cut in one full wall, then immediately roll that wall. Move around the room in sequence rather than cutting in all four walls first and then rolling. This is particularly important with fast-drying latex paints, which can skin over in as little as 15–30 minutes in warm, dry conditions — a common scenario in climate-controlled homes in 2026.
Common Challenges and How to Overcome Them
Even with the right tools and technique, cutting in throws curveballs. Here are the three most common problems and their precise solutions.
Challenge 1: Paint Bleeding Under Tape
The problem: You carefully apply painter’s tape, paint the edge, peel the tape — and find paint has seeped underneath, leaving a blurry, uneven line. Infuriating.
Why it happens: The tape wasn’t fully sealed to the surface, the surface texture was too rough, or too much paint was applied in one heavy coat.
The solution: Before painting, run a thin bead of the base color (the color you’re protecting) along the tape edge and let it dry. This seals the tape from the inside. Then apply your topcoat. Any bleeding will be in the base color, making it invisible. Alternatively, use FrogTape, whose micro-porous edge technology actively absorbs paint to prevent bleeding — independently tested in 2025 to reduce bleed-through by up to 89% compared to standard masking tape.
Challenge 2: Visible Brush Marks After Drying
The problem: When the paint dries, you can clearly see brushstroke texture in your cut-in band that doesn’t match the smooth rolled surface of the main wall.
Why it happens: Cut-in sections are brushed while rolled sections have a stippled texture from the roller nap. When light strikes the wall at an angle, the different textures become visible — what painters call “picture framing.”
The solution: Immediately after cutting in a section, use your roller to blend the fresh cut-in edge by rolling as close to the trim or ceiling as possible. Some painters also use a dry brush technique: after cutting in, lightly drag a nearly dry brush across the cut-in section perpendicular to the stroke direction to knock down the texture before it dries.
Challenge 3: Shaky Hands and Wavy Lines
The problem: Your hand simply won’t stay steady, resulting in a wavy, inconsistent cut-in line especially along the ceiling.
The solution: This is both a physical and psychological challenge. Physically, brace your forearm against the wall or ceiling for stability. Paint with your whole arm moving, not just your wrist. Psychologically, slow down — most beginners rush because they’re nervous, which paradoxically makes their hands shakier. Use a paint shield held in your non-dominant hand against the ceiling while your dominant hand holds the brush. And simply practice: your neural pathways adapt quickly, and by the second wall, most beginners report significantly improved steadiness.
Cutting In Methods Compared
| Method | Precision Level | Time Required | Best For | Skill Level |
|---|---|---|---|---|
| Freehand Brushing | High (with practice) | Moderate | Experienced painters | Intermediate–Advanced |
| Painter’s Tape | Very High | Slow (tape application) | High-contrast colors, beginners | Beginner–Intermediate |
| Paint Shield/Trim Guard | Moderate–High | Fast | Flat trim surfaces, baseboards | Beginner–Intermediate |
| Edger Tool (pad edger) | Moderate | Fast | Long straight edges | Beginner |
| Combination (Tape + Freehand) | Highest | Slow | Professional results, accent walls | All levels |
Cutting In Success Rate by Technique
Based on a 2025 DIY Painting Satisfaction Study (n=1,200 homeowners), here’s how different cutting-in approaches ranked for producing results the painter was satisfied with on the first attempt:
Source: 2025 DIY Home Improvement Satisfaction Study — Interior Paint Finishing
Real-World Examples: What a Difference the Technique Makes
Case Study 1: The Accent Wall Transformation
Sarah, a homeowner in Austin, Texas, decided in early 2026 to add a deep terracotta accent wall to her open-plan living room — a project inspired by the Pantone 2026 Color of the Year palette. Her first attempt at cutting in freehand along the white ceiling resulted in a visibly wobbly line and multiple spots of terracotta on the ceiling. She spent two additional hours touching up with white paint, only to have the terracotta bleed through again.
On her second wall, she switched to FrogTape, used the three-step stroke method described above, and maintained a wet edge by rolling immediately after each cut-in section. The result? A razor-sharp line that looked, in her words, “like something from a design magazine.” The difference in approach was approximately 20 minutes of extra tape preparation — a worthwhile trade for two fewer hours of correction work.
Case Study 2: The Professional Shortcut
Marcus, a professional painter based in Chicago with 14 years of experience, rarely uses tape. His technique relies entirely on freehand brushwork with a 2-inch Purdy Clearcut brush. “The secret most people don’t know,” he explained in a 2025 interview with This Old House, “is consistency of pressure. The line isn’t drawn — it’s guided. You’re using the flex of the bristles to find the edge, not your eye alone. Once that clicks, everything changes.”
Marcus also emphasized paint consistency. “If paint is too thick from the can, thin it by 5–10% with water for latex. A slightly thinner paint flows off the bristle tips more cleanly and leaves a sharper edge than heavy-bodied paint that drags.”
Frequently Asked Questions
Do I need painter’s tape to cut in paint, or can I do it freehand?
You don’t need painter’s tape to cut in effectively, but it dramatically increases success rates for beginners and for high-contrast color combinations. Professional painters typically work freehand after years of practice, while beginners and intermediate DIYers benefit enormously from the mechanical guide that quality tape provides. The key insight is that tape isn’t a crutch — it’s a tool, and the right tool for many situations. If you’re working with colors that are very similar in tone, freehand brushing with a quality angled brush is often faster and just as effective. Reserve tape for dramatic color contrasts or situations where imperfection would be highly visible.
Why does my cut-in line look different from the rolled section when dry?
This is the “picture framing” effect, caused by the textural difference between brushed and rolled paint. Rolled surfaces have a slight stippled texture from the roller nap, while brushed surfaces show directional bristle marks. When light hits the wall at an angle (called raking light), these texture differences become visible even when the color is identical. The solution is twofold: first, use a roller to blend the edge of your cut-in band while both surfaces are still wet; second, apply a second coat using the same technique — two thin coats blend more seamlessly than one thick coat. High-quality paints with better leveling agents, such as Benjamin Moore Aura or Sherwin-Williams Emerald (both reformulated in 2025), also reduce picture framing significantly.
How wide should my cut-in band be along the ceiling?
The ideal cut-in band width is approximately 2–3 inches from the ceiling line down the wall. This width ensures that your roller — which typically can’t get closer than 1.5–2 inches to the ceiling without touching it — will overlap into the cut-in band, creating a seamless blend. If your cut-in band is too narrow (under 1.5 inches), the roller won’t overlap it and you’ll see a distinct brushed border. If it’s too wide (over 4 inches), the textural difference between brushed and rolled sections becomes more noticeable. Most professional 2-inch angled brushes naturally produce a band of the right width in a single confident stroke when loaded correctly.
Your Perfect Edge: Next Steps to Painting Mastery
Cutting in paint perfectly is one of those skills that feels impossibly difficult — right up until the moment it doesn’t. The techniques and tools covered in this guide represent what professional painters use daily, and they’re entirely accessible to any motivated DIYer willing to invest in the right brush and practice with intention.
Here’s your action-oriented roadmap to putting this into practice immediately:
- Invest in one quality angled brush (Purdy Clearcut 2-inch or equivalent). This single purchase will more dramatically improve your results than any other single change.
- Practice the three-step stroke on a piece of cardboard before touching your wall. Load the brush, start away from a drawn line, guide toward it, feather away. Repeat 20 times. Your muscle memory will thank you.
- Prepare your surface meticulously — caulk gaps, sand rough spots, clean grimy sections. The edge you cut in can only be as clean as the physical surface beneath it.
- Choose your method deliberately based on your skill level and color contrast. When in doubt, use FrogTape for your first project and go freehand once you’ve built confidence.
- Maintain your wet edge religiously — cut in a section, roll it immediately, move on. Never go back to touch dried cut-in paint during the same coat.
As 2026 home design continues to embrace bolder color choices — deeper saturated walls, contrasting ceiling colors, and graphic geometric paint designs — the ability to cut in cleanly is becoming an increasingly valuable household skill. What was once a nice-to-have for DIYers is now practically essential for keeping up with modern interior design ambitions without a professional-sized budget.
So here’s the question worth sitting with: Which room in your home has been waiting for a paint transformation that you’ve been putting off because you weren’t confident in your edges? Armed with the techniques in this guide, that room doesn’t have to wait any longer. Pick up that angled brush, load it correctly, and make your first guided stroke. The line you’re capable of cutting might surprise you.