Preparing Walls Before Painting: The Complete DIY Checklist
Reading time: 14 minutes
Ever started a paint job only to watch your fresh coat bubble, peel, or reveal every crack and imperfection underneath? You’re in good company. According to a 2025 survey by the Paint Quality Institute, over 67% of DIY painting failures trace directly back to inadequate wall preparation — not poor paint quality, not wrong brush technique, but skipped prep steps.
Here’s the straight talk: a flawless paint job is 80% preparation and 20% application. The prep work is where professionals earn their reputation — and where most DIYers cut corners. This guide exists to change that.
Whether you’re refreshing a tired bedroom, tackling a full home renovation, or preparing a rental property between tenants, this complete checklist will walk you through every stage with precision, practical advice, and zero filler.
Table of Contents
- Why Wall Preparation Is Non-Negotiable
- Tools and Materials You’ll Actually Need
- Step 1 — Inspect and Assess Your Walls
- Step 2 — Clean Every Surface Thoroughly
- Step 3 — Repair Damage Like a Pro
- Step 4 — Sand for a Smooth, Paint-Ready Surface
- Step 5 — Prime Strategically, Not Just Routinely
- Step 6 — Mask, Tape, and Protect
- Wall Condition vs. Preparation Intensity: At a Glance
- 3 Common Challenges and How to Overcome Them
- Frequently Asked Questions
- Your Paint-Ready Roadmap: Final Steps
Why Wall Preparation Is Non-Negotiable
Think of your wall as a canvas. A painter doesn’t apply oils over a torn, greasy, or unprimed canvas — and you shouldn’t apply latex or acrylic paint over a surface riddled with dust, grease, cracks, or flaking old paint. The consequences are more than cosmetic.
Poorly prepared walls lead to:
- Adhesion failure — paint peels within months, especially in humid rooms
- Visible surface defects — every gouge, patch, and texture irregularity shows through
- Uneven sheen and color — porous or repaired areas absorb paint differently
- Mold growth — painting over moisture or mold without treatment accelerates damage
- Wasted money — premium paints are rendered ineffective on unprepared surfaces
In 2026, with high-quality interior paints ranging from $45 to $90 per gallon, skipping prep is genuinely expensive. A single gallon wasted because the surface wasn’t ready is easily avoidable.
Quick Scenario: Imagine you’ve just moved into a new apartment and want to repaint the kitchen. The walls look “fine” at first glance. But under good lighting, you spot a thin layer of cooking grease, a hairline crack near the window, and a water stain above the sink. Skip prep, and within a year you’ll be repainting. Follow this checklist, and that kitchen stays fresh for five to seven years minimum.
Tools and Materials You’ll Actually Need
Before diving into the steps, let’s inventory what you need. Showing up to prep work without the right tools is like trying to cook without a knife — technically possible, consistently frustrating.
Essential Prep Tools
- Putty knife (3-inch and 6-inch) — for scraping loose paint and applying filler
- Sanding sponges and sandpaper (80, 120, and 220 grit) — for smoothing repairs and scuff-sanding
- Pole sander — for large wall surfaces without back strain
- Shop vacuum with HEPA filter — essential for dust control, especially post-sanding
- Bucket and sponges — for washing walls
- Painter’s tape (1.5-inch and 2-inch) — for masking edges, trim, and fixtures
- Drop cloths (canvas or plastic) — to protect floors and furniture
- Bright work light or inspection lamp — to reveal surface defects invisible under normal lighting
Essential Prep Materials
- TSP substitute (Trisodium Phosphate cleaner) — for degreasing walls
- Spackling compound — for small holes and hairline cracks
- Joint compound (all-purpose) — for larger repairs and skim coating
- Fiberglass mesh tape — for reinforcing larger cracks
- Shellac-based or stain-blocking primer — for stains, knots, and smoke damage
- High-build primer — for rough or previously unpainted surfaces
- Mold-resistant primer — for bathrooms, kitchens, and basements
Pro Tip: In 2026, several hardware brands have introduced all-in-one prep kits — bundled packs containing spackling, sandpaper, painter’s tape, and a stain-blocking primer in one purchase. These kits, available at most major home improvement retailers for $35–$55, are excellent for first-time DIYers who want a curated starting point.
Step 1 — Inspect and Assess Your Walls
The first step happens before you touch a single tool. A proper inspection dictates everything that follows — the depth of cleaning required, the extent of repairs needed, and the type of primer you’ll use.
Set up a bright work light angled at roughly 45 degrees against your wall surface. This raking light technique (used by professional painters and restoration experts) reveals surface defects that flat overhead lighting completely hides: shallow dents, hairline cracks, dried drips from previous paint jobs, and texture inconsistencies.
During inspection, look and note:
- Cracks (hairline vs. structural; horizontal vs. vertical)
- Holes (nail holes, anchor holes, larger impact damage)
- Water stains or discoloration
- Peeling, bubbling, or flaking paint
- Glossy sections (will need sanding for adhesion)
- Mold or mildew spots (typically appear as dark spots with a musty odor)
- Grease or heavily soiled areas (especially in kitchens)
Important: If you spot cracks that are wider than 1/4 inch, run diagonally from corners of windows or doors, or keep reopening after repair, consult a structural engineer before painting. These can indicate foundation settlement and painting over them is not just cosmetic negligence — it can mask serious structural issues.
Step 2 — Clean Every Surface Thoroughly
Paint does not bond to dirty surfaces. Grease, dust, cobwebs, soap scum, and fingerprints all break the adhesion chain between primer/paint and the wall substrate. This step is unglamorous but absolutely critical.
Cleaning by Room Type
Living rooms and bedrooms: A standard wipe-down with a damp sponge and mild detergent solution is typically sufficient. Pay special attention to areas near light switches, door frames, and baseboards where hands frequently touch the wall.
Kitchens: Require TSP substitute or a dedicated degreaser. Cooking releases aerosolized oils that invisibly coat every surface within range. Even walls that look clean in a kitchen are often coated in a thin grease film. Apply the degreaser per package instructions, scrub with a non-scratch pad, then rinse thoroughly with clean water. Allow the wall to dry completely — minimum 24 hours — before proceeding.
Bathrooms: Address mold and mildew before anything else. Mix one cup of bleach with three cups of water, apply to affected areas, let sit for 10 minutes, then scrub and rinse. Wear gloves and ensure ventilation. After cleaning, treat with a mold-inhibiting solution and allow to fully dry.
Ceilings and high walls: Use a long-handled mop or a microfiber duster on a pole to remove cobwebs and dust before wet cleaning.
Once cleaned, let walls dry completely — typically 24–48 hours depending on humidity. In 2026, many homeowners use inexpensive digital hygrometers (available for $10–$15) to confirm ambient humidity is below 50% before proceeding, which is a smart, data-driven approach to prep.
Step 3 — Repair Damage Like a Pro
This is where preparation separates a professional-looking result from a DIY disaster. Every hole, crack, and gouge left unaddressed will telegraph through your final paint coat — often dramatically more visible after painting than before.
Repairing Nail Holes and Small Dents
For holes up to about 1/2 inch in diameter, lightweight spackling compound is your tool. Apply with a putty knife, pressing firmly so the compound fills the void completely. Slightly overfill — spackling shrinks as it dries. Once dry (typically 2–4 hours for lightweight formulas), sand flush with 120-grit sandpaper. Feather the edges so there’s no visible ridge.
For holes between 1/2 inch and 4 inches, use a self-adhesive fiberglass mesh patch combined with joint compound. Apply the patch over the hole, apply a thin coat of joint compound over it with a wide putty knife (6-inch minimum), let dry, sand, apply a second coat, dry, sand again with 120-grit, then finish with a light pass of 220-grit for a surface-smooth result.
Repairing Hairline Cracks
Hairline cracks in plaster or drywall are extremely common and, if untreated, will reappear through your new paint within months. The correct approach:
- Widen the crack slightly with a putty knife or can opener to create a small V-groove — this gives the filler more surface area to bond
- Brush out any loose debris
- Apply flexible, paintable caulk for cracks near trim or where walls meet ceilings (these areas flex)
- Apply joint compound for cracks in the middle of wall fields
- Embed fiberglass mesh tape over cracks longer than 3 inches for reinforcement
- Sand smooth once dry and apply a skim coat if needed
Case Study — The Weekend Renovation: A homeowner in Portland, Oregon documented their 2025 living room refresh on a popular home improvement forum. They skipped crack repair on three hairline fractures near the window, reasoning “the paint will cover them.” Three months post-painting, all three cracks had reappeared through the new paint, the largest now wider than before due to seasonal expansion and contraction. They ultimately had to repaint the entire wall after proper repairs — doubling their total project cost.
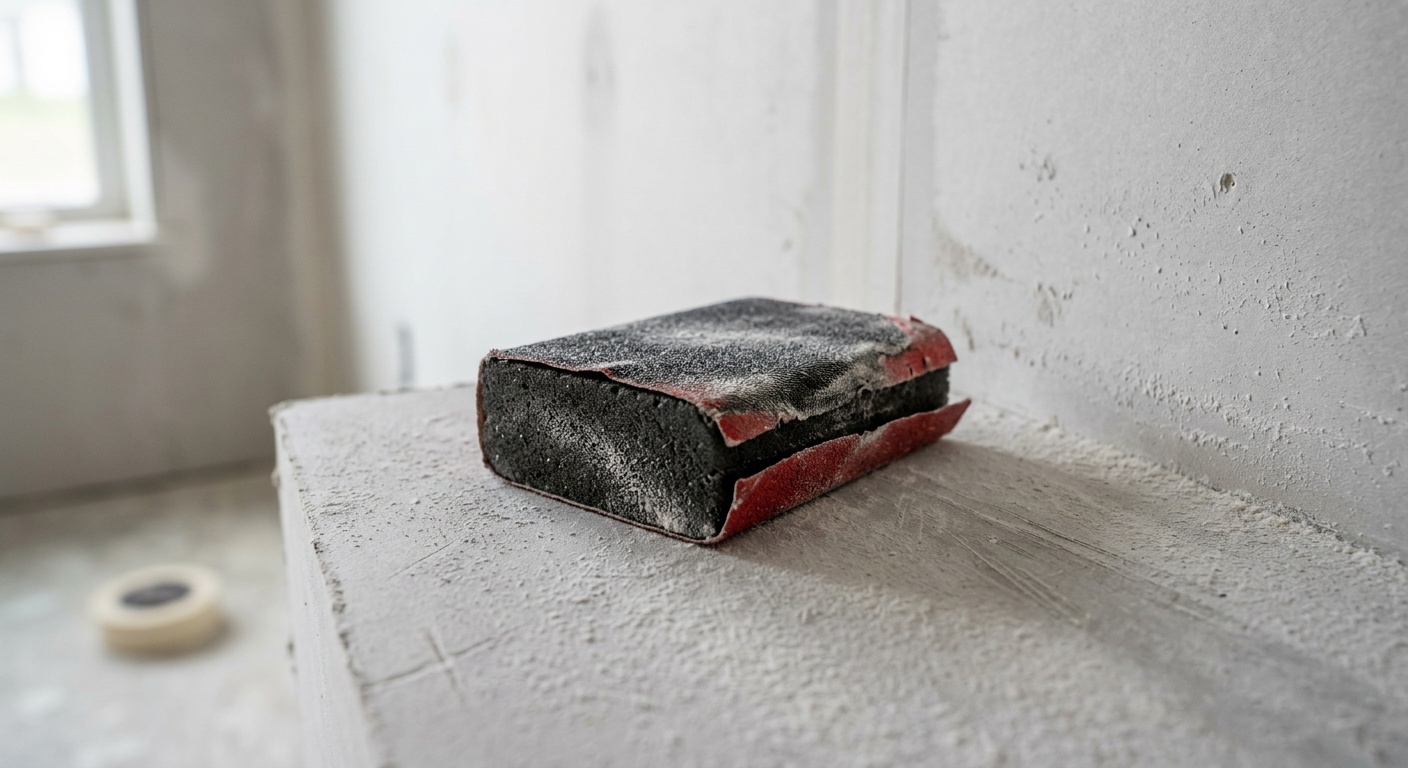
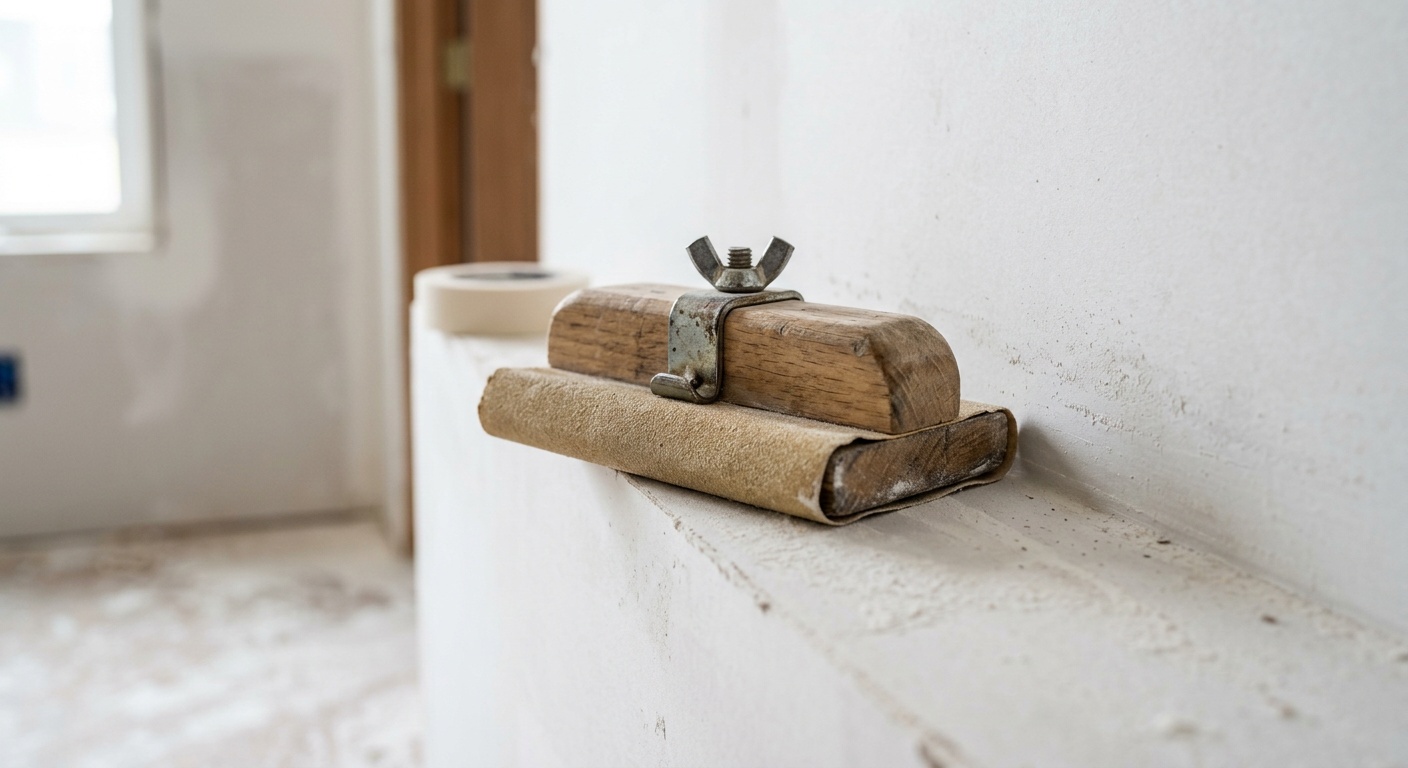
Step 4 — Sand for a Smooth, Paint-Ready Surface
Sanding serves three purposes in wall preparation: it smooths repaired areas flush with the surrounding surface, it scuffs glossy existing paint to improve adhesion, and it removes minor surface irregularities the eye might miss but the paint will reveal.
Here’s your sanding sequence:
- 80-grit: For aggressive material removal, smoothing thick spackling applications, or knocking down peeling paint edges
- 120-grit: For general repair smoothing and surface scuffing of semi-gloss or gloss surfaces
- 220-grit: For final finish sanding before priming, particularly on previously uncoated or heavily repaired areas
Pro Tip: Always sand in circular motions or along the grain of the wall to avoid creating visible scratch patterns. After sanding, wipe down the entire surface with a tack cloth or lightly dampened microfiber cloth to remove all sanding dust. Dust left on the surface is one of the most common causes of “grainy” paint finishes.
After sanding, re-inspect under your raking light. Sanding often reveals additional imperfections. If new spots need repair, apply compound, allow to dry, and re-sand those areas.
Step 5 — Prime Strategically, Not Just Routinely
Primer is not simply “thin paint.” It is a specifically engineered bonding agent that creates a uniform, paintable surface. In 2026, the range of available primers is more sophisticated than ever, and choosing the right one for your specific situation makes a measurable difference in results.
Choosing the Right Primer
PVA Drywall Primer: Use on new or heavily patched drywall. PVA (Polyvinyl Acetate) primer seals the porous paper face of drywall and creates uniform porosity so your topcoat absorbs evenly. Without it on new drywall, repaired patches will show as “flashing” — duller spots where paint was absorbed differently.
Stain-Blocking Primer (Shellac or Oil-Based): Essential for water stains, smoke damage, crayon marks, or permanent marker. Water-based stain blockers have improved dramatically in 2025–2026 and are now viable for most stains, though shellac remains the gold standard for severe discoloration and odor blocking.
High-Build Primer: For walls with significant texture irregularities or heavily sanded areas. High-build primers fill minor surface variations and create a smoother base for topcoat application.
Mold-Resistant Primer: Non-negotiable in bathrooms, laundry rooms, and basements. Standard primers do not inhibit mold growth — within 12–18 months, mold will push through regular primer and paint in high-moisture environments.
Apply primer with a roller (3/8-inch nap for smooth surfaces, 1/2-inch nap for textured surfaces) and cut in edges with a 2-inch angled brush. Allow full dry time per manufacturer instructions — typically 1–3 hours for water-based, 4–8 hours for oil-based — before applying topcoat.
Step 6 — Mask, Tape, and Protect
The final prep step before paint touches wall is protecting everything you don’t want painted. Rushed masking leads to tedious cleanup and potential damage to trim, floors, and fixtures.
- Painter’s tape: Apply to trim, window frames, door frames, and outlet covers. Press the tape edge firmly with a putty knife or your fingernail for a crisp seal. Remove tape while the paint is still slightly wet (not fully dry) for the cleanest edge.
- Drop cloths: Canvas drop cloths are superior to plastic — they stay in place and absorb splatter rather than allowing it to spread underfoot. Secure edges with tape if needed.
- Outlet and switch covers: Remove these entirely for a cleaner result rather than taping around them.
- Furniture: Move furniture to the center of the room and cover with plastic sheeting secured with painter’s tape.
Wall Condition vs. Preparation Intensity: At a Glance
| Wall Condition | Cleaning Required | Repairs Needed | Sanding Level | Primer Type |
|---|---|---|---|---|
| New drywall | Dust removal only | Screw dimples, seams | Light (220-grit) | PVA Drywall Primer |
| Previously painted (flat, good condition) | Mild soap and water | Nail holes only | Minimal scuffing | Bonding primer optional |
| Previously painted (glossy) | Degreaser recommended | Minor repairs | Medium (120-grit overall) | Bonding primer required |
| Stained / smoke-damaged | TSP substitute wash | Variable | Medium (120-grit patches) | Shellac stain-blocking primer |
| Heavily damaged / peeling | Full wash + degreaser | Extensive patching | Heavy (80→120→220-grit) | High-build primer |
Prep Time Investment by Wall Condition
Estimated preparation hours per average room (12×12 ft)
3 Common Challenges and How to Overcome Them
Challenge 1: Painting Over Existing Wallpaper
It is tempting — the wallpaper looks okay, removing it is labor-intensive, and painting over it seems like a clever shortcut. Don’t do it. Paint activates the wallpaper adhesive over time, causing bubbling and seam visibility. If removal truly isn’t an option, at minimum: re-glue all loose seams and edges, apply an oil-based primer (not water-based, which reactivates glue), and accept that it is a temporary solution, not a permanent fix.
The correct approach is full removal: score the paper, apply a wallpaper remover solution, allow adequate soak time (30+ minutes), peel sections, and address the wall underneath before any other prep step begins.
Challenge 2: Persistent Water Stains That Bleed Through Paint
You’ve cleaned the stain, applied regular primer, and painted — but a yellow-brown shadow ghosts through your fresh coat within days. This is bleed-through, and it happens because water stains contain mineral deposits and organic compounds that standard primers cannot seal.
The solution: shellac-based primer (Zinsser BIN is the industry standard in 2026) applied directly over the stain. Apply two coats for severe staining, allowing full dry time between coats. This creates an impermeable barrier. Only after two coats of shellac primer should you apply your finish primer and topcoat.
Challenge 3: Achieving Smooth Results on Textured Walls
Textured walls (orange peel, knockdown, skip trowel) present a challenge: you want repairs to blend seamlessly, not create a visibly smoother or differently textured patch. The key is texture matching.
- For orange peel texture: use a light hopper gun or aerosol texture spray after repairs, held at the correct distance to replicate the existing stipple
- For knockdown texture: apply joint compound in random, overlapping patches with a knife, partially smooth, and allow to dry partially before “knocking down” peaks with a wide blade
- Always test the texture match on scrap cardboard before applying to your wall
Frequently Asked Questions
Do I always need to use primer before painting?
Not always — but more often than manufacturers of “paint-and-primer-in-one” products suggest. On previously painted walls in good condition with a matte or eggshell finish, a dedicated primer step can sometimes be skipped if you’re using a high-quality topcoat and changing to a similar color. However, primer is non-negotiable when painting new drywall, covering stains or dark colors, painting over glossy surfaces, addressing mold-prone rooms, or working with heavily repaired areas. When in doubt, prime — the cost of a gallon of primer ($20–$35) is insignificant compared to the cost of redoing a failed paint job.
How long should I wait between prep steps before painting?
Each stage has a minimum wait time that directly impacts results. After washing walls, allow 24–48 hours of drying time before applying any filler or primer. Spackling compound typically requires 2–4 hours before sanding (lightweight formulas) or overnight (standard formulas). Joint compound requires 24 hours minimum per coat — never rush this. After priming, most water-based primers require a minimum of 1–2 hours before topcoat application, while oil-based primers need 4–8 hours. In humid conditions (above 60% relative humidity), extend all drying times by 30–50%. Using a dehumidifier in the workspace significantly speeds this up.
What’s the best way to find hidden wall imperfections before painting?
The most effective technique is raking light inspection — positioning a bright, portable work light at a low angle (roughly 45 degrees) to the wall surface. This side-lighting throws every ridge, dent, dimple, and crack into sharp relief that overhead or ambient lighting completely misses. Do this inspection before and after each prep step: before cleaning (to create your repair list), after sanding (to catch any newly revealed issues), and after priming (primers are excellent at revealing surface irregularities in their matte, uniform surface). Professional painters routinely call this step “lighting the wall,” and it’s the single biggest technique difference between amateur and professional results.
Your Paint-Ready Roadmap: The Final Steps Forward
You now have the complete framework that separates lasting, professional-quality paint jobs from ones that disappoint within a season. Let’s bring it home with an actionable implementation roadmap.
Your 6-Step Pre-Paint Checklist:
- ✅ Inspect under raking light — document every defect before touching a tool
- ✅ Clean appropriate to your room type — degrease kitchens, treat mold in bathrooms, dust and wipe everywhere else
- ✅ Repair all holes, cracks, and damage — resist skipping any item on your defect list
- ✅ Sand repaired areas smooth and scuff glossy surfaces — always tack-cloth dust before priming
- ✅ Prime strategically — match your primer to your wall’s specific condition and needs
- ✅ Mask and protect — invest 30 minutes in clean tape lines to save hours of cleanup
In 2026, DIY home improvement is surging — Google Trends data shows home painting searches up 34% year-over-year as more homeowners take renovation into their own hands. Yet the most common complaint on DIY forums remains the same: “my paint looks terrible and I don’t know why.” Almost universally, the answer is prep.
Here’s what I want you to take away: you don’t need to be a professional painter to get professional results — you need to be a professional preparer. The actual painting step is quick and relatively forgiving. The prep work is where patience, attention, and the right materials separate a result you’ll be proud of for years from one you’re already planning to redo.
So before you crack open that premium paint can, ask yourself honestly: have I truly prepared this wall, or have I simply decided it looks good enough? Your walls — and your future self — will know the difference.